This guide explains how to use the PhoneHQ chat on the web app. It walks you through starting and managing conversations, sending messages and attachments, making voice calls, and organising chats, helping you communicate efficiently from your browser or computer.
Open the Chat Panel
On desktop: click the Chat icon in the app toolbar

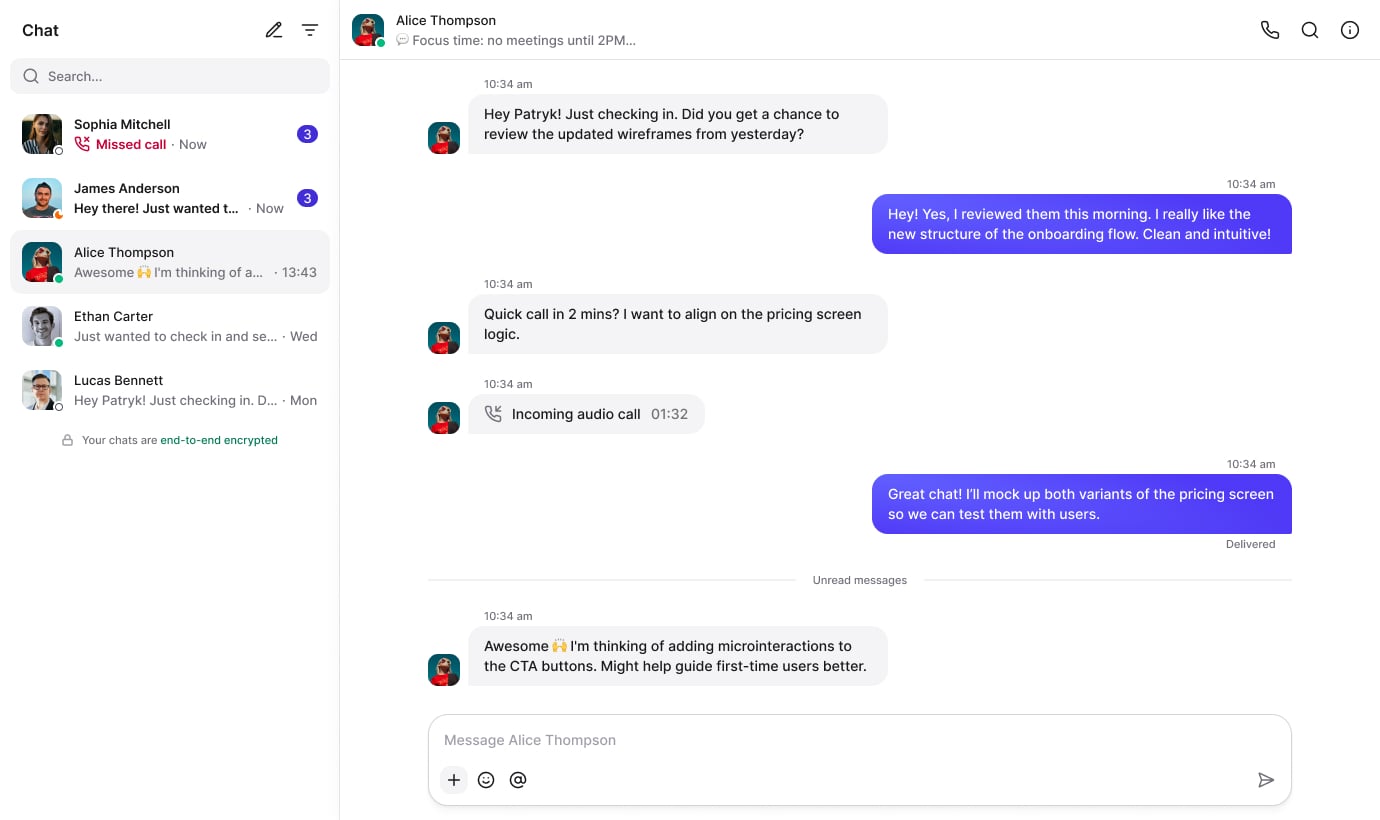
Get Familiar with the Left Panel (Conversation List)
Conversation list — shows active and recent conversations; click an entry to open it.
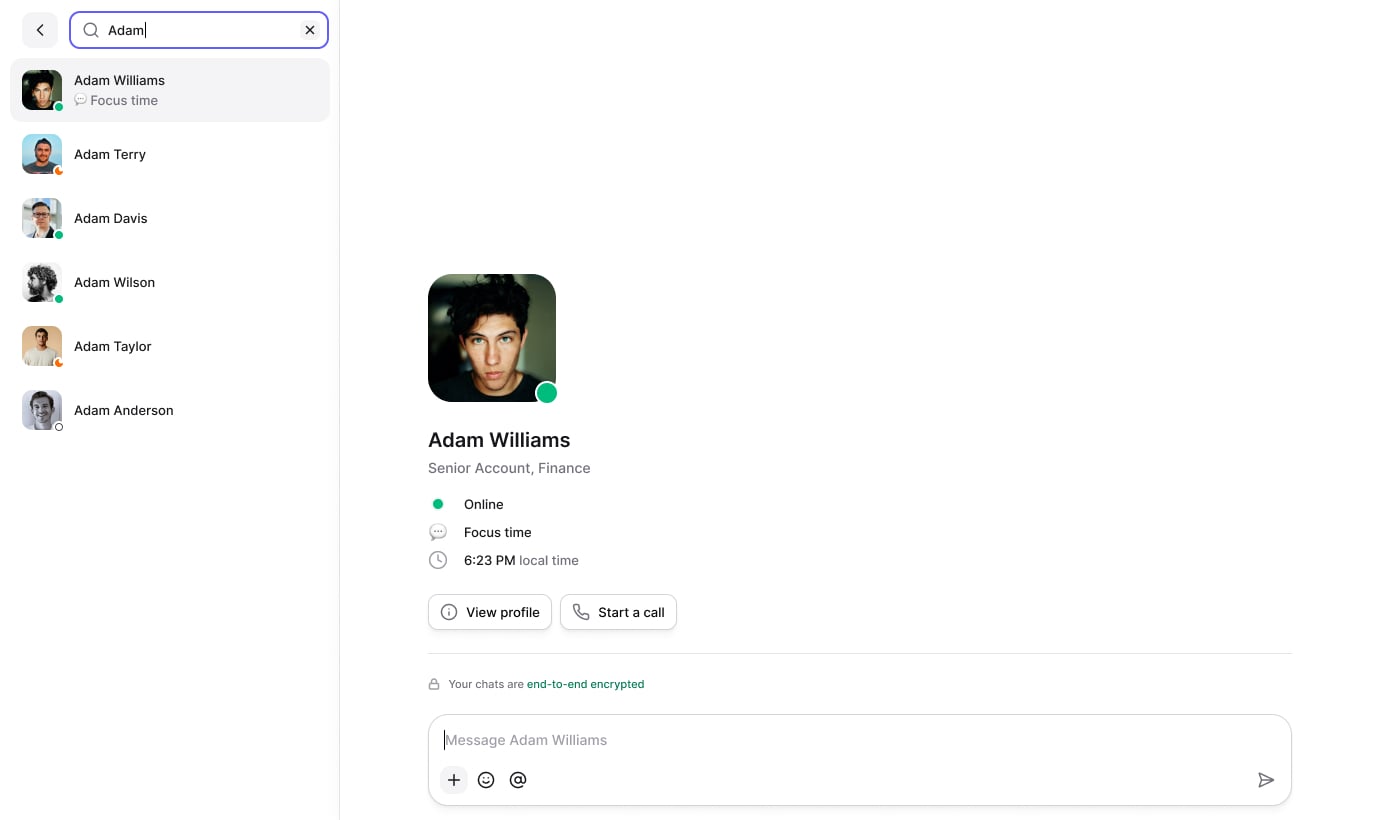
Statuses — next to names/avatars, you can often see availability (online, offline, busy, etc.).
Notifications — the number of unread messages appears next to a contact.
Search bar — type a contact name or keyword to quickly find a chat or message.

Start a New Conversation
Click the new conversation/pen icon
Select a contact or type their name
To create a group: select New Group or add multiple recipients before sending your first message.

Customise your chat by changing its name and securing it with end-to-end encryption. Just toggle the "Enable end-to-end encryption" option.
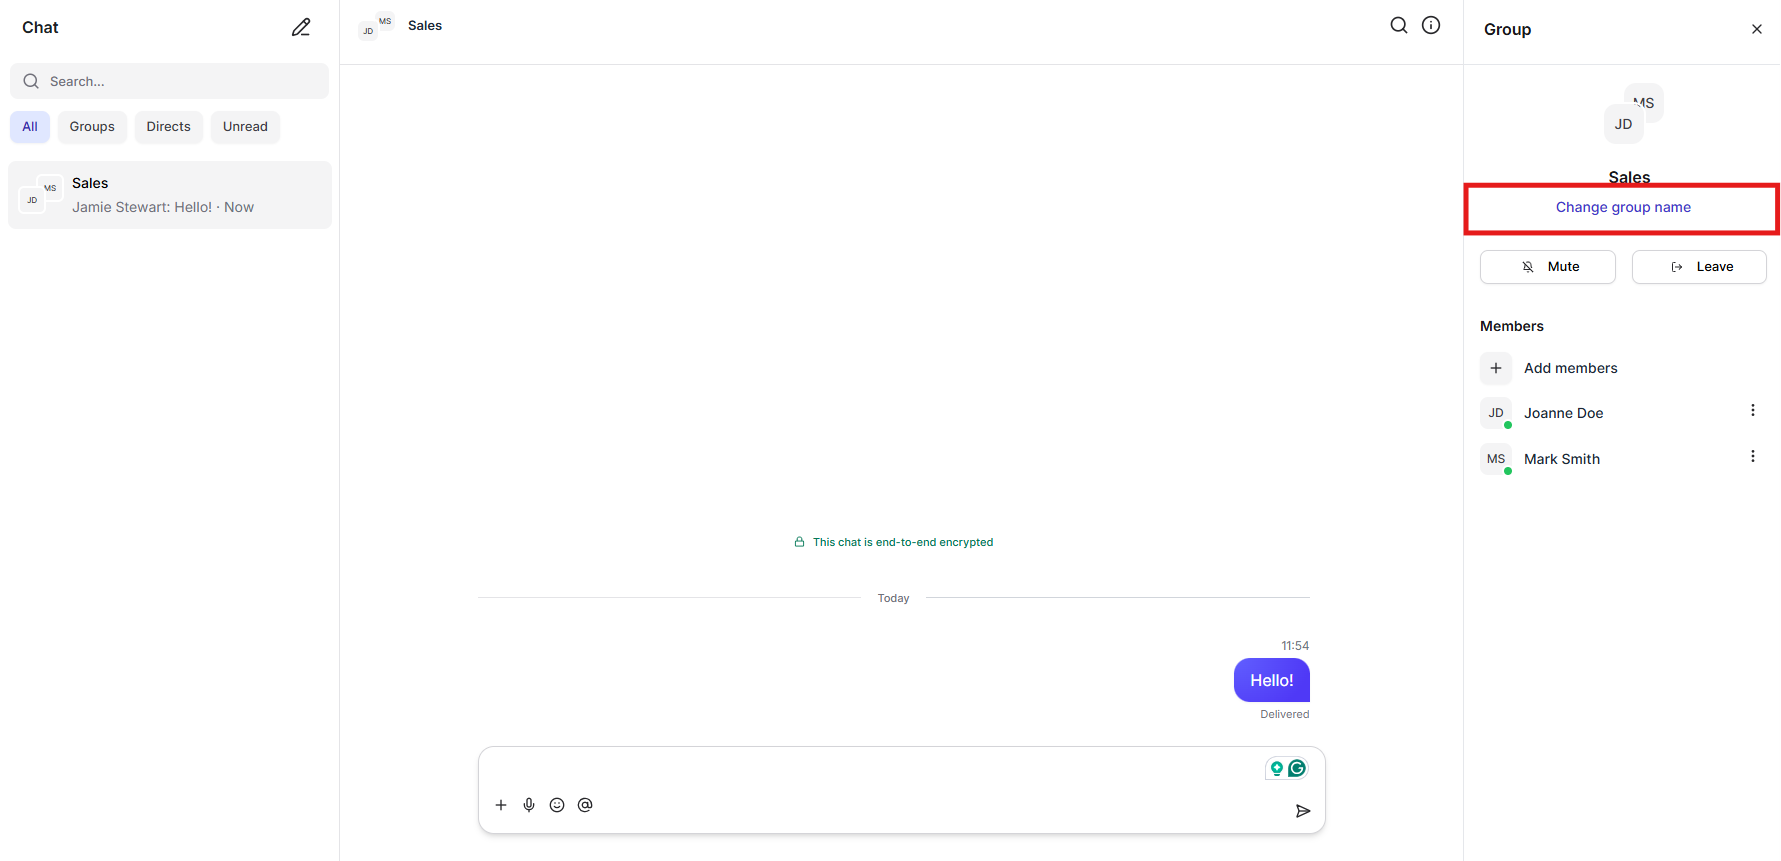
You can change the group name later—just click the ‘Info’ button and select ‘Change group name’
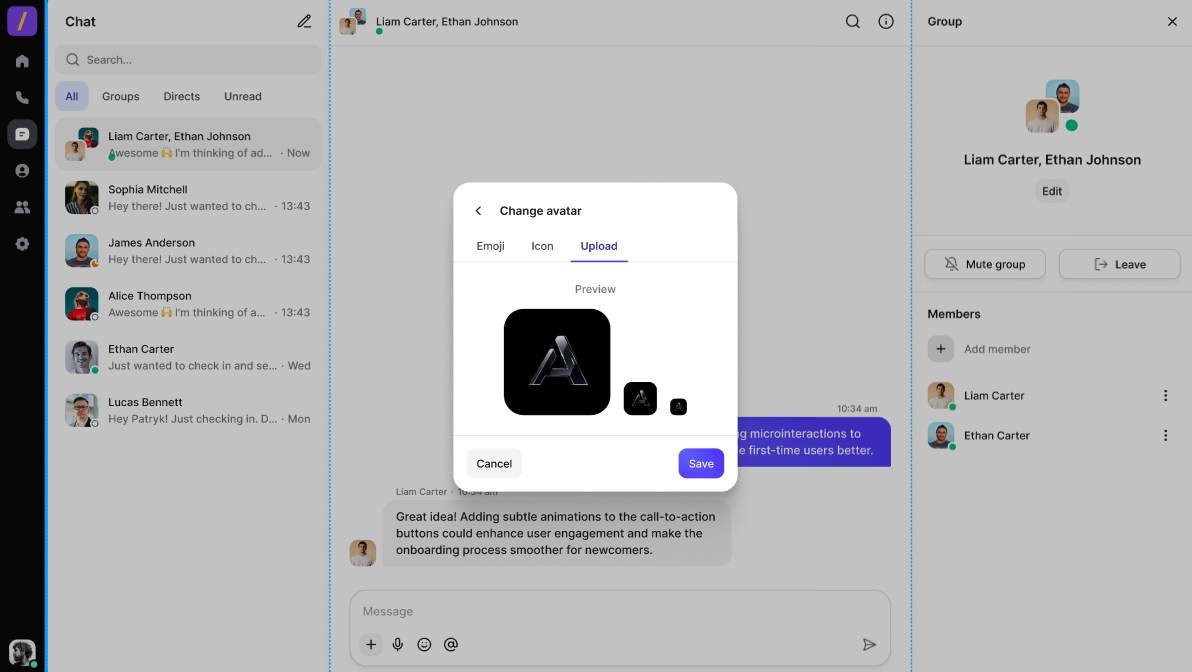
You can personalise the group avatar by choosing an emoji or uploading a photo.
Click the 'i' icon.
Click the 'Edit' button below the group name.
Click the 'Change avatar' button.
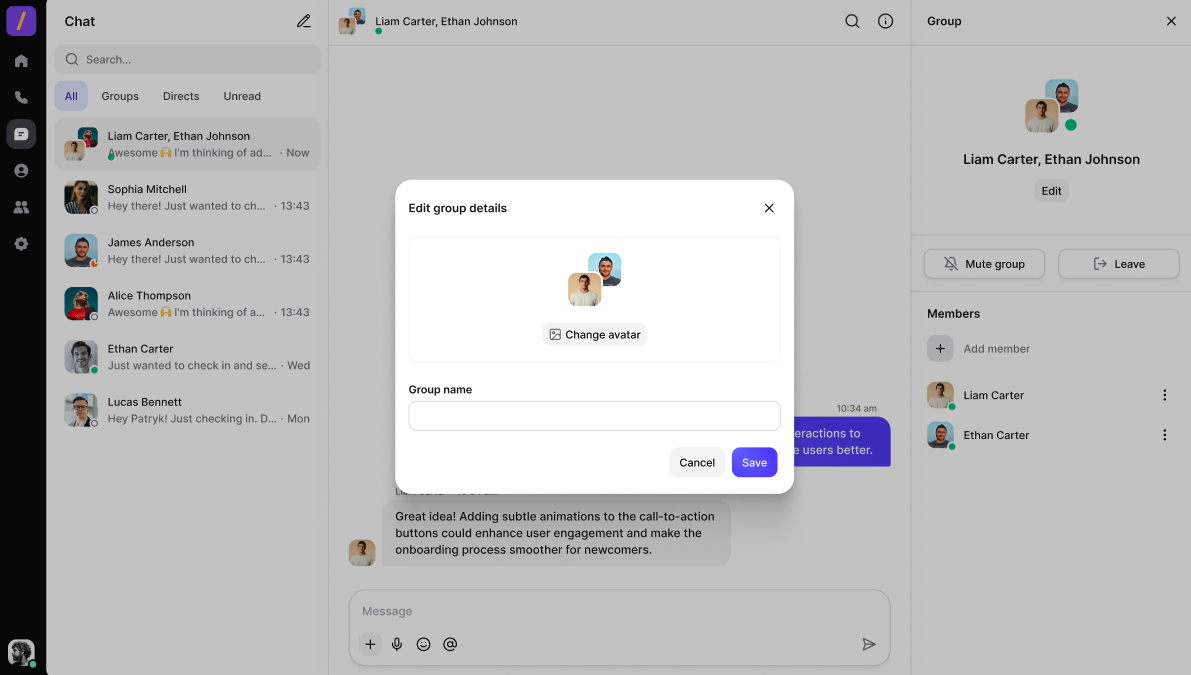
Click it to choose an emoji or icon or to upload a photo.
Write and Send a Message
Type your message in the entry field.
Send: press Enter or click the “send” icon (usually an arrow).
To add a new line without sending: press Shift+Enter (or other combo depending on the app).
Send Attachments (Files, Photos, GIFs)
Click the + / paperclip / attach icon next to the entry field.
Choose a file from your device or drag and drop it (if supported).
Wait for the upload, then press Send.
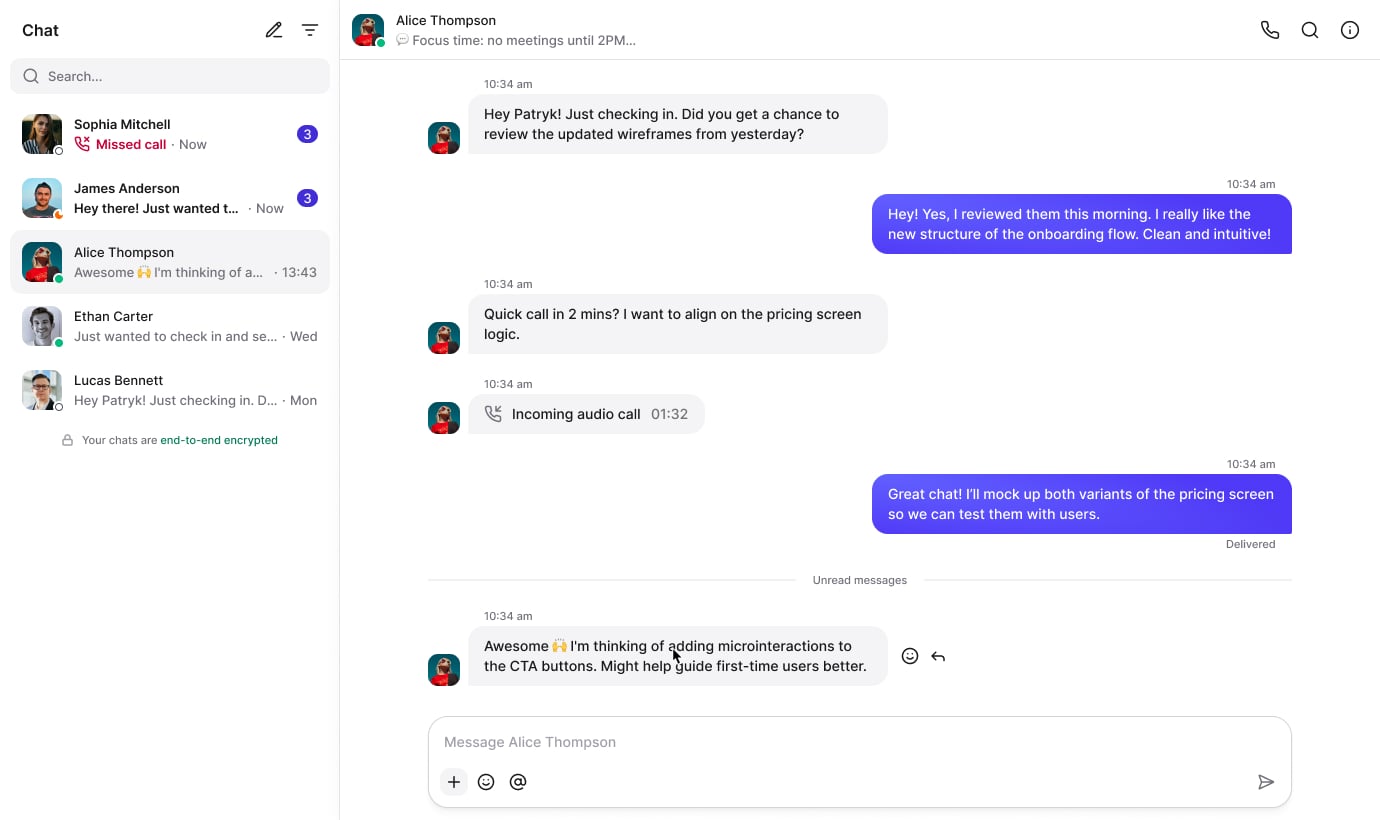
Reactions, Emojis, GIFs, and Mentions (@)
Reaction: usually long-press or right-click a message to react.
Emoji/GIF: click the emoji/GIF icon next to the entry field.
Mention: type @ and select a contact — useful in group chats.
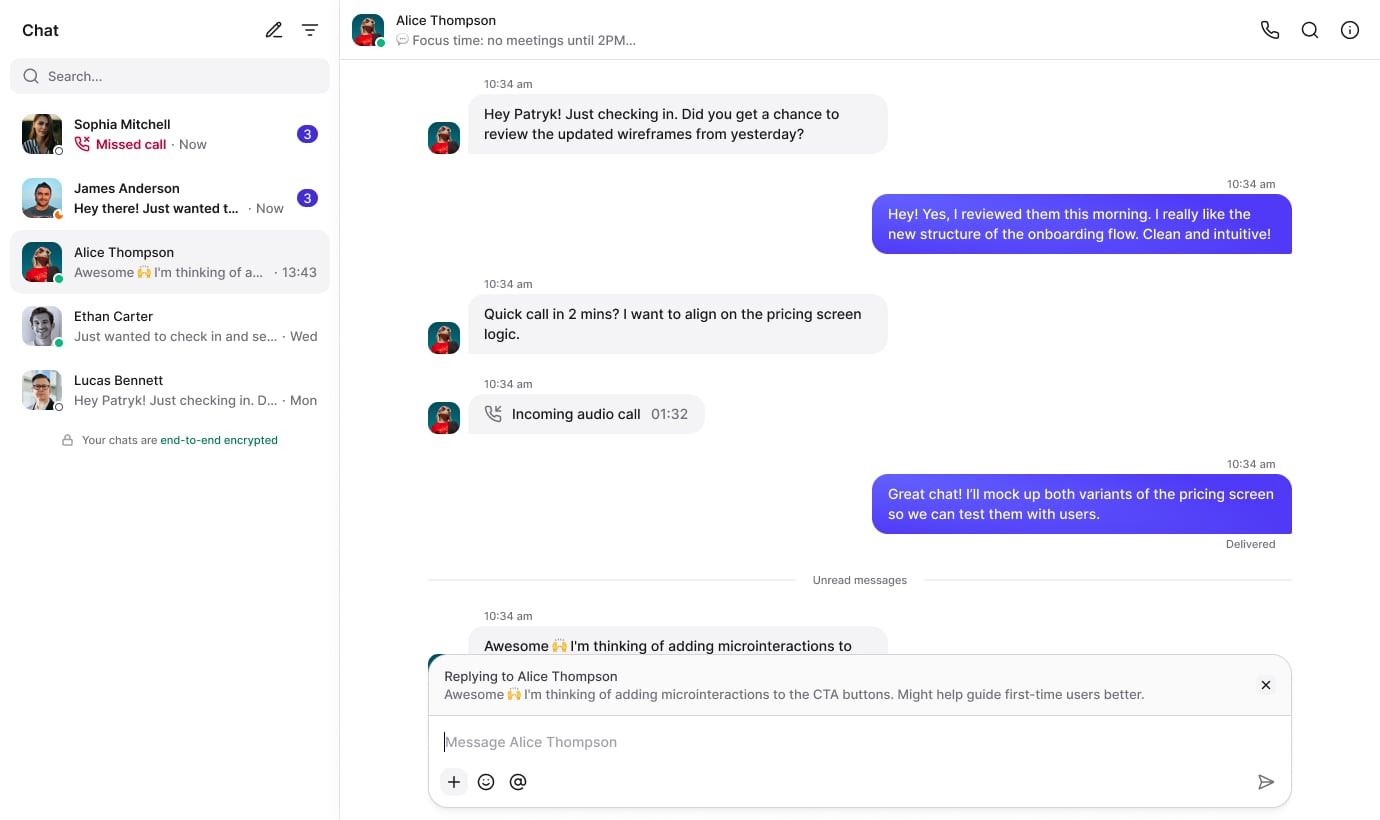
Select a message and choose Reply
Managing conversations is easier with our new messaging features. To retract a sent item, click the three dots icon next to the message and choose “Delete message for everyone.” This works not only for text but also for shared files.
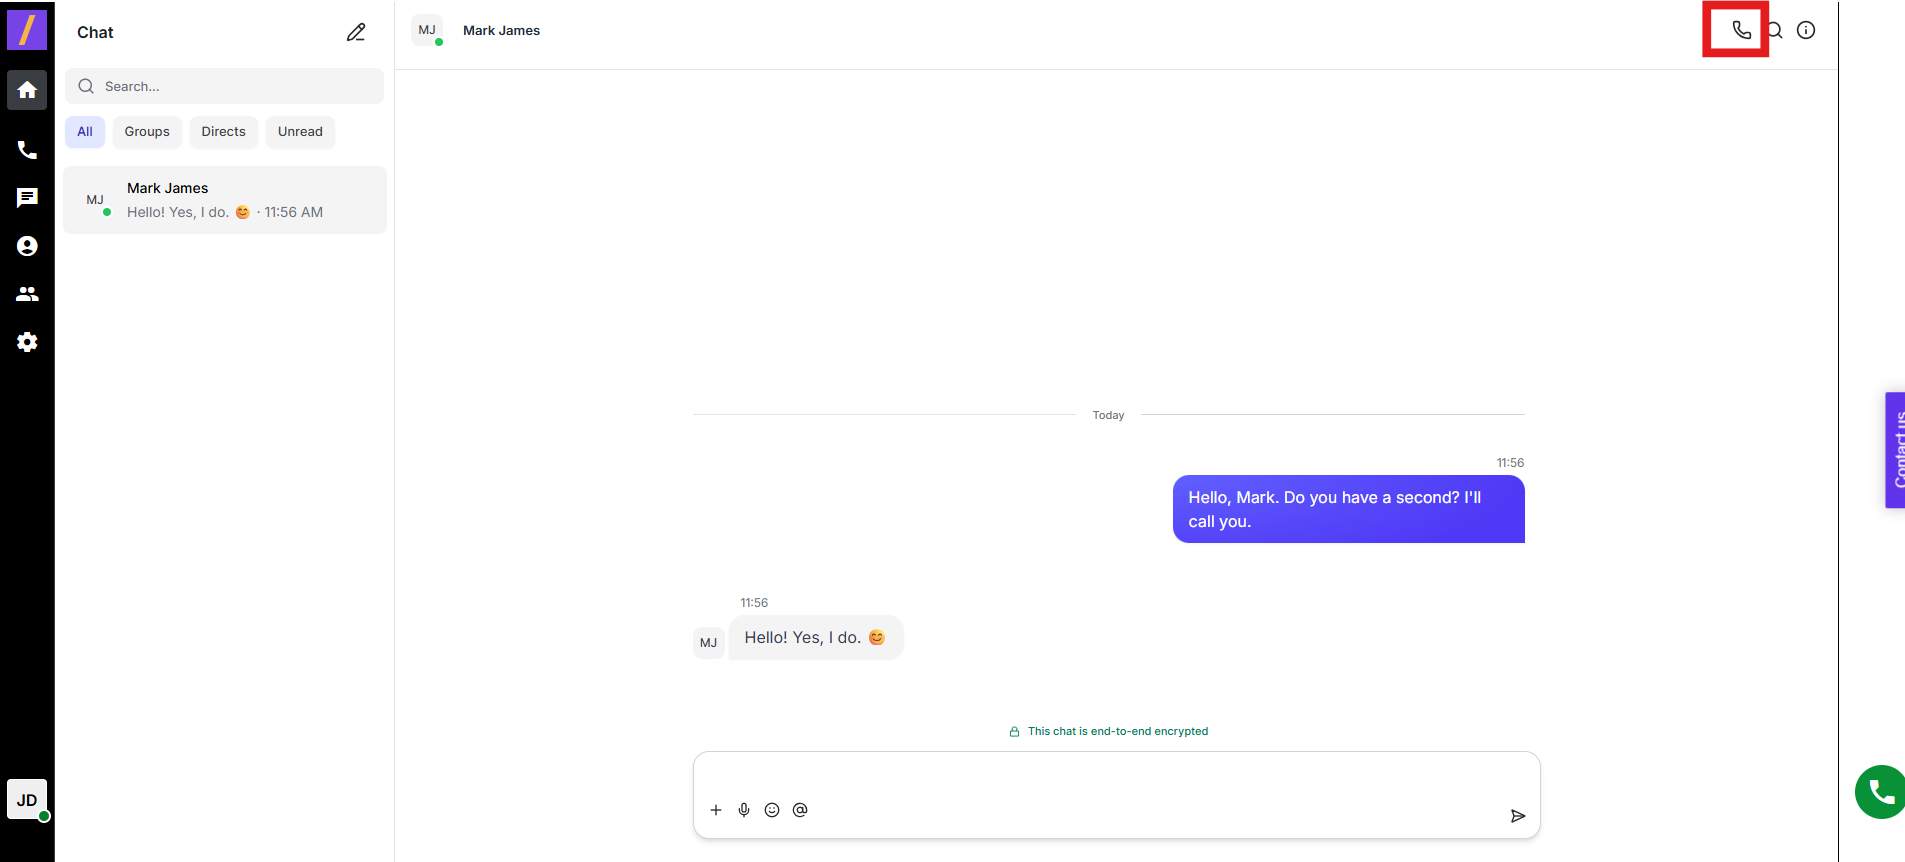
In the conversation header, click the phone (voice) icon
Grant microphone access if prompted.
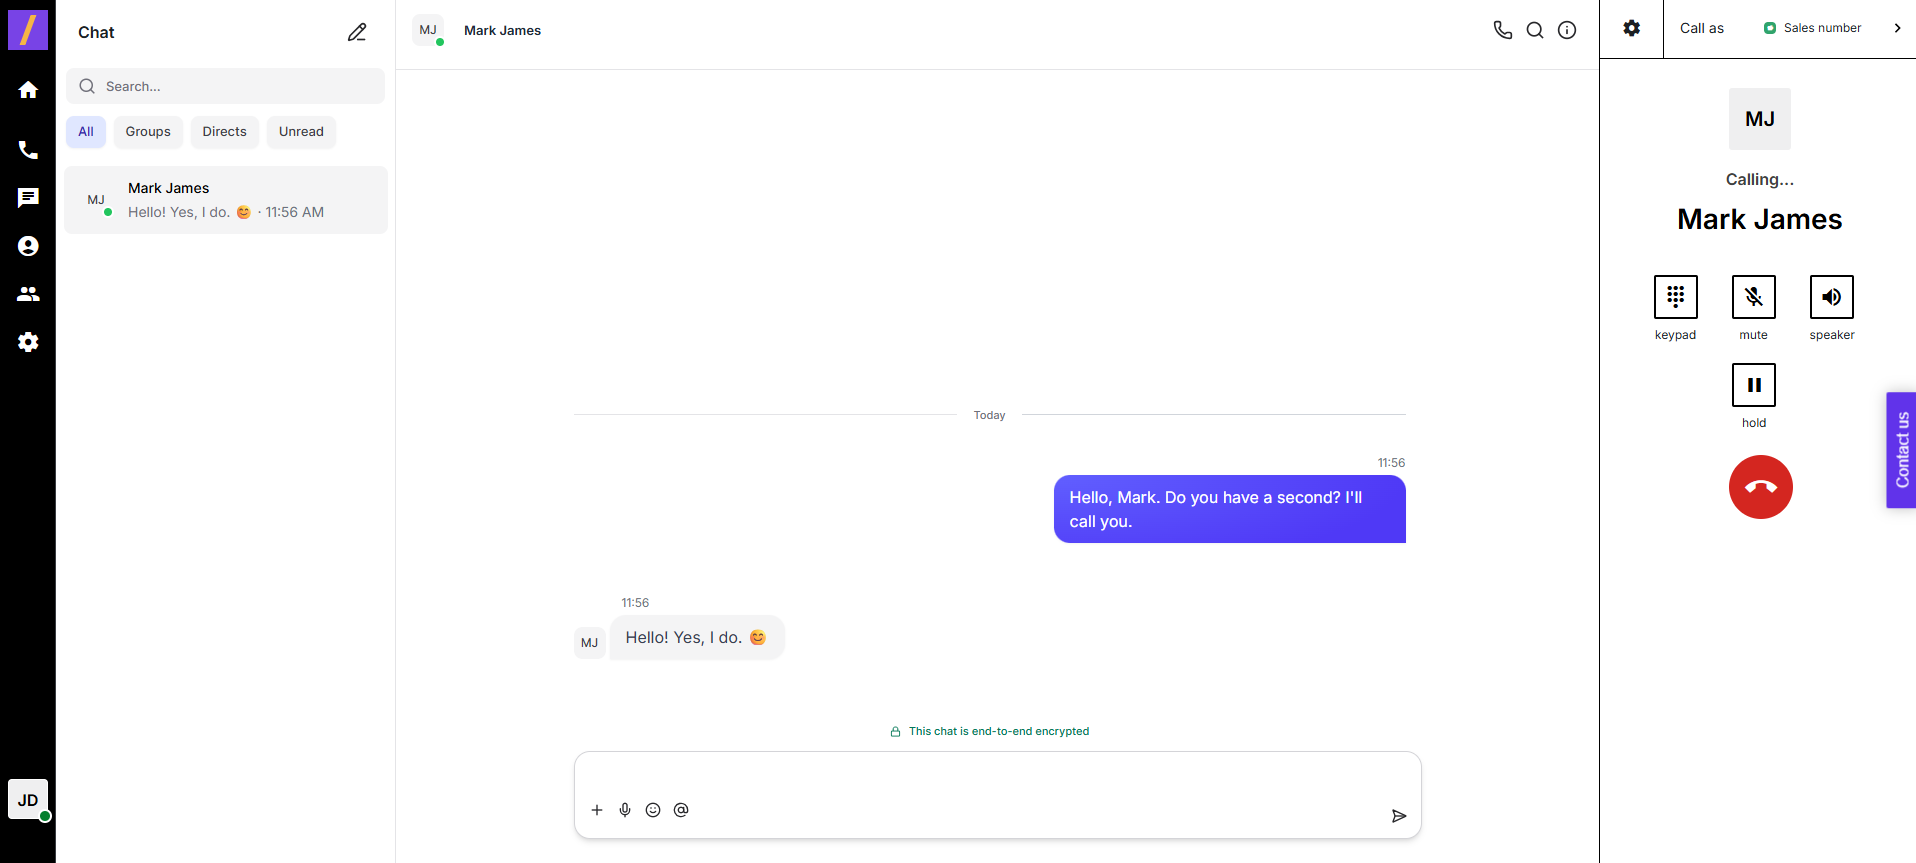
Call will take an action on the right side of your screen - in the call panel
Check microphone permissions in your browser
(e.g., in Chrome: click the lock icon next to the address bar → Site settings → Microphone → set to Allow).
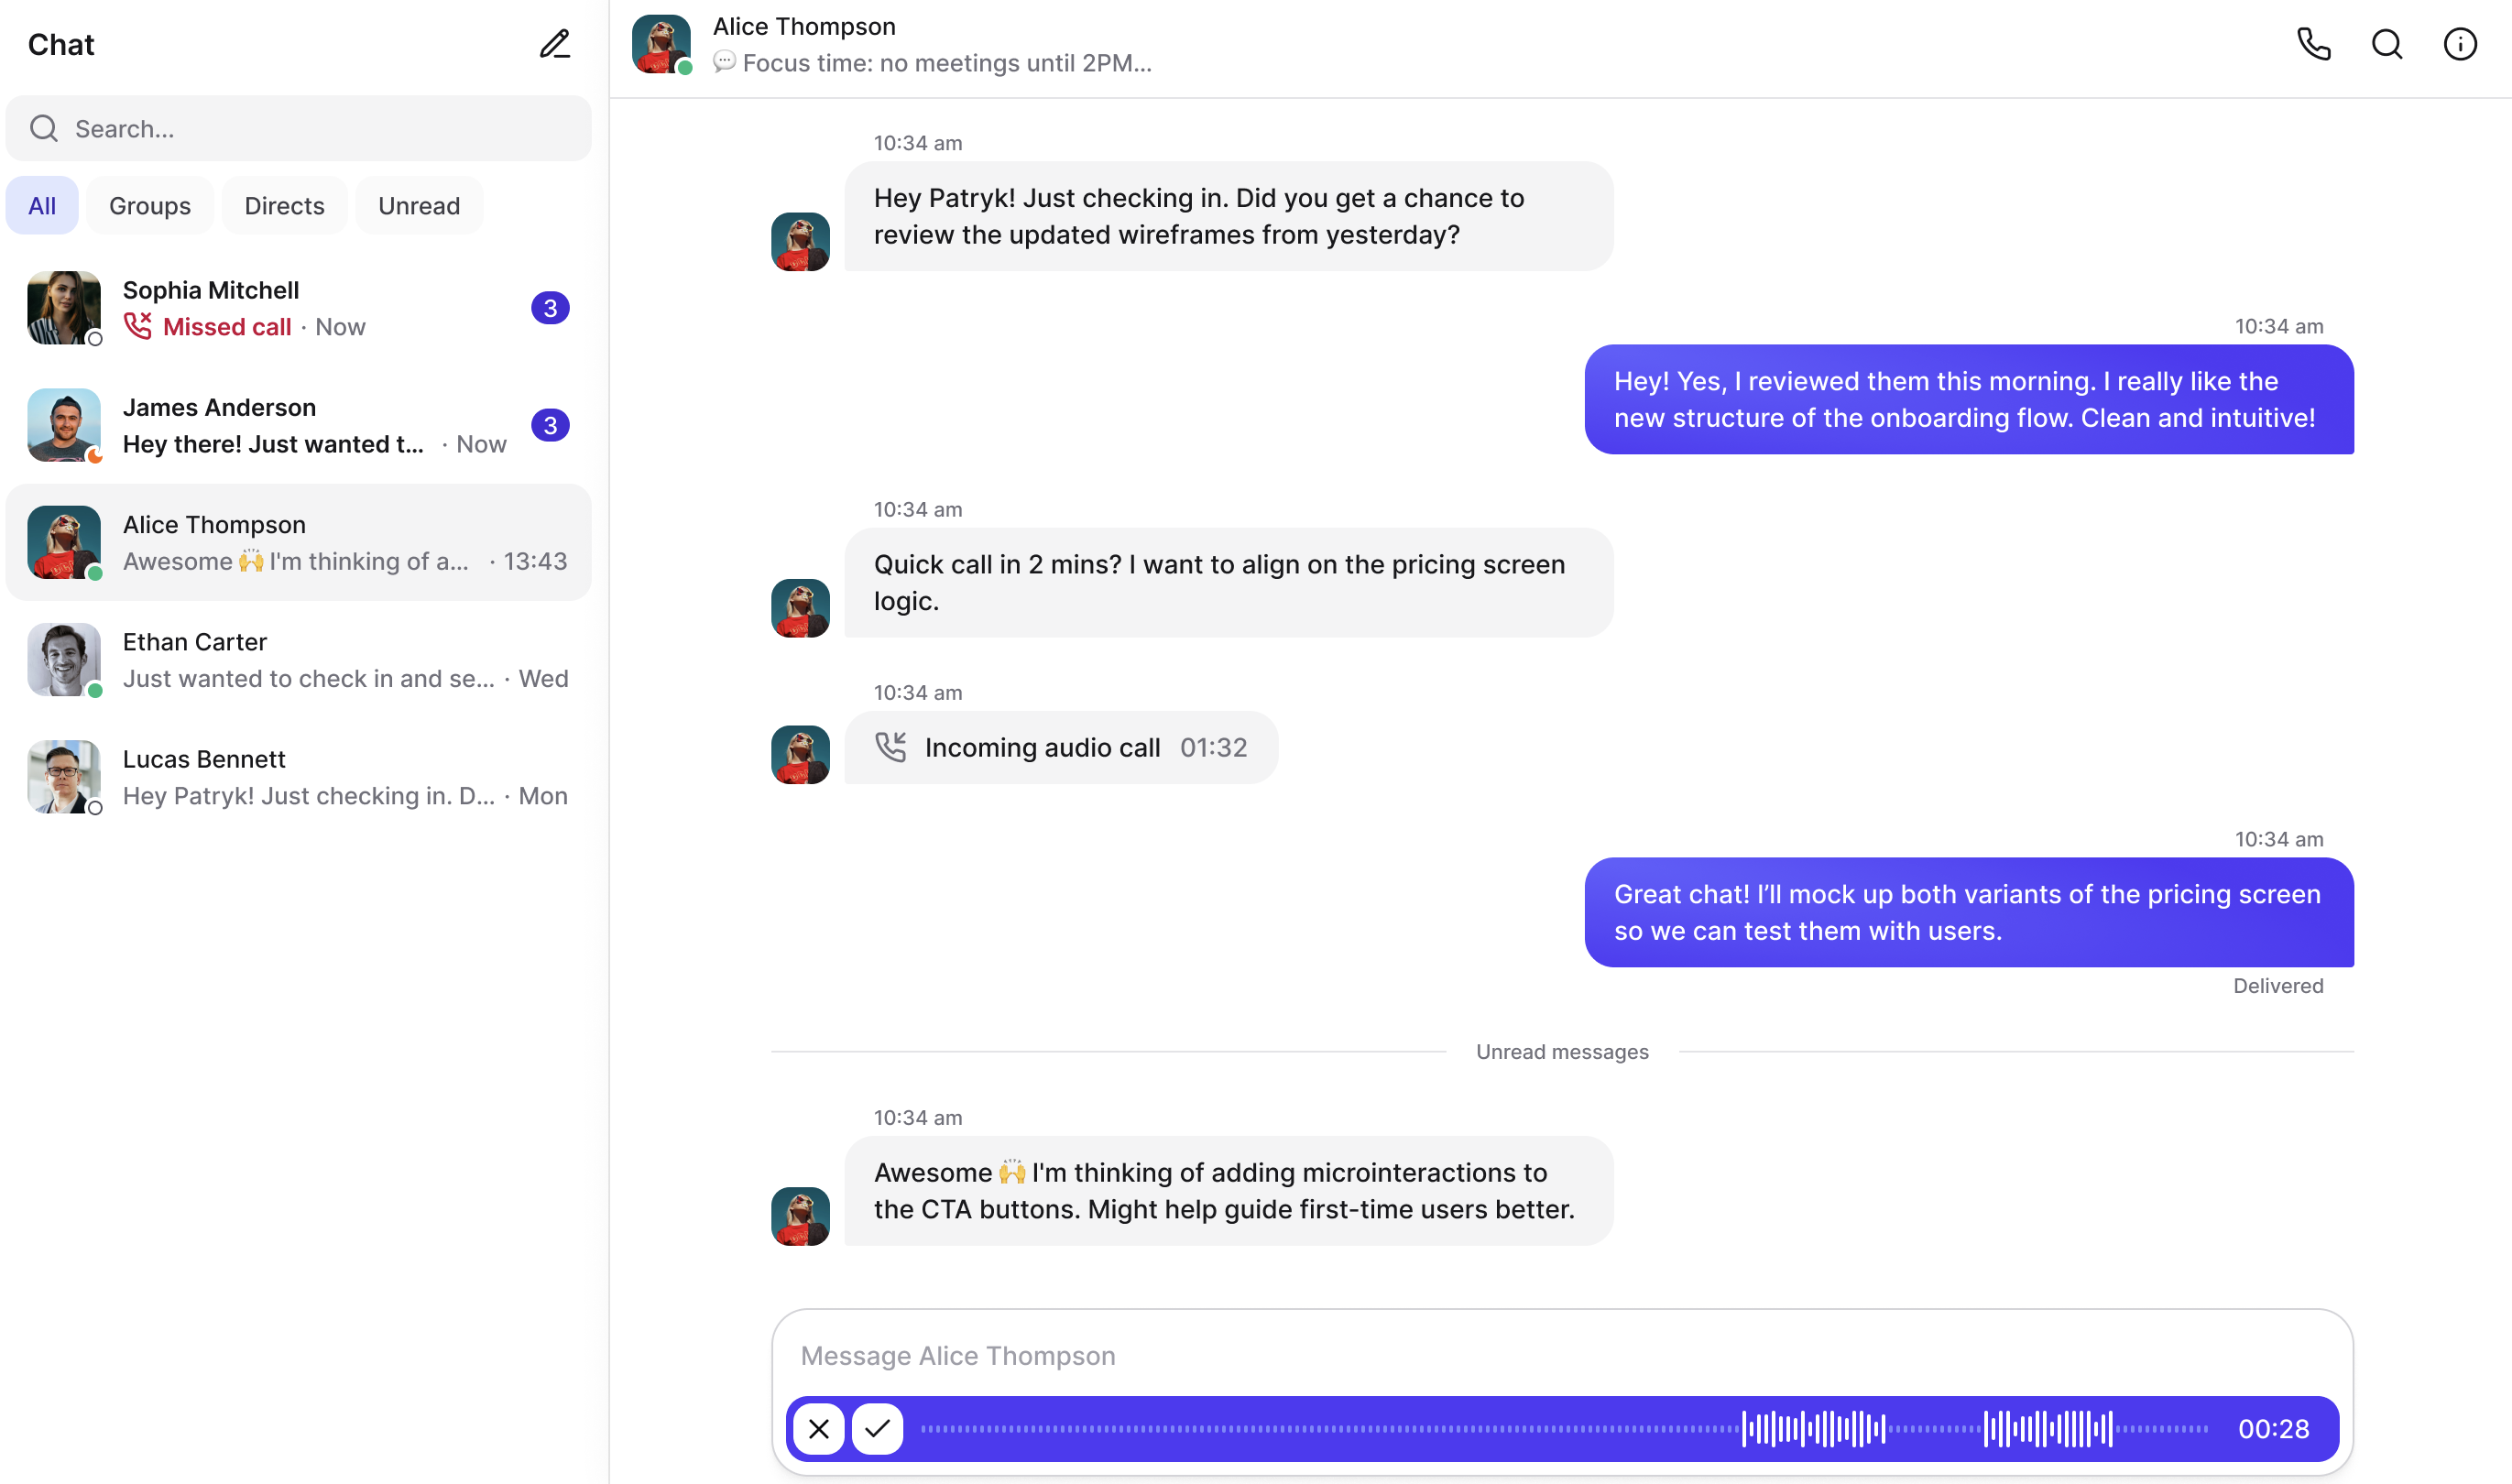
Find the microphone icon next to the message input field
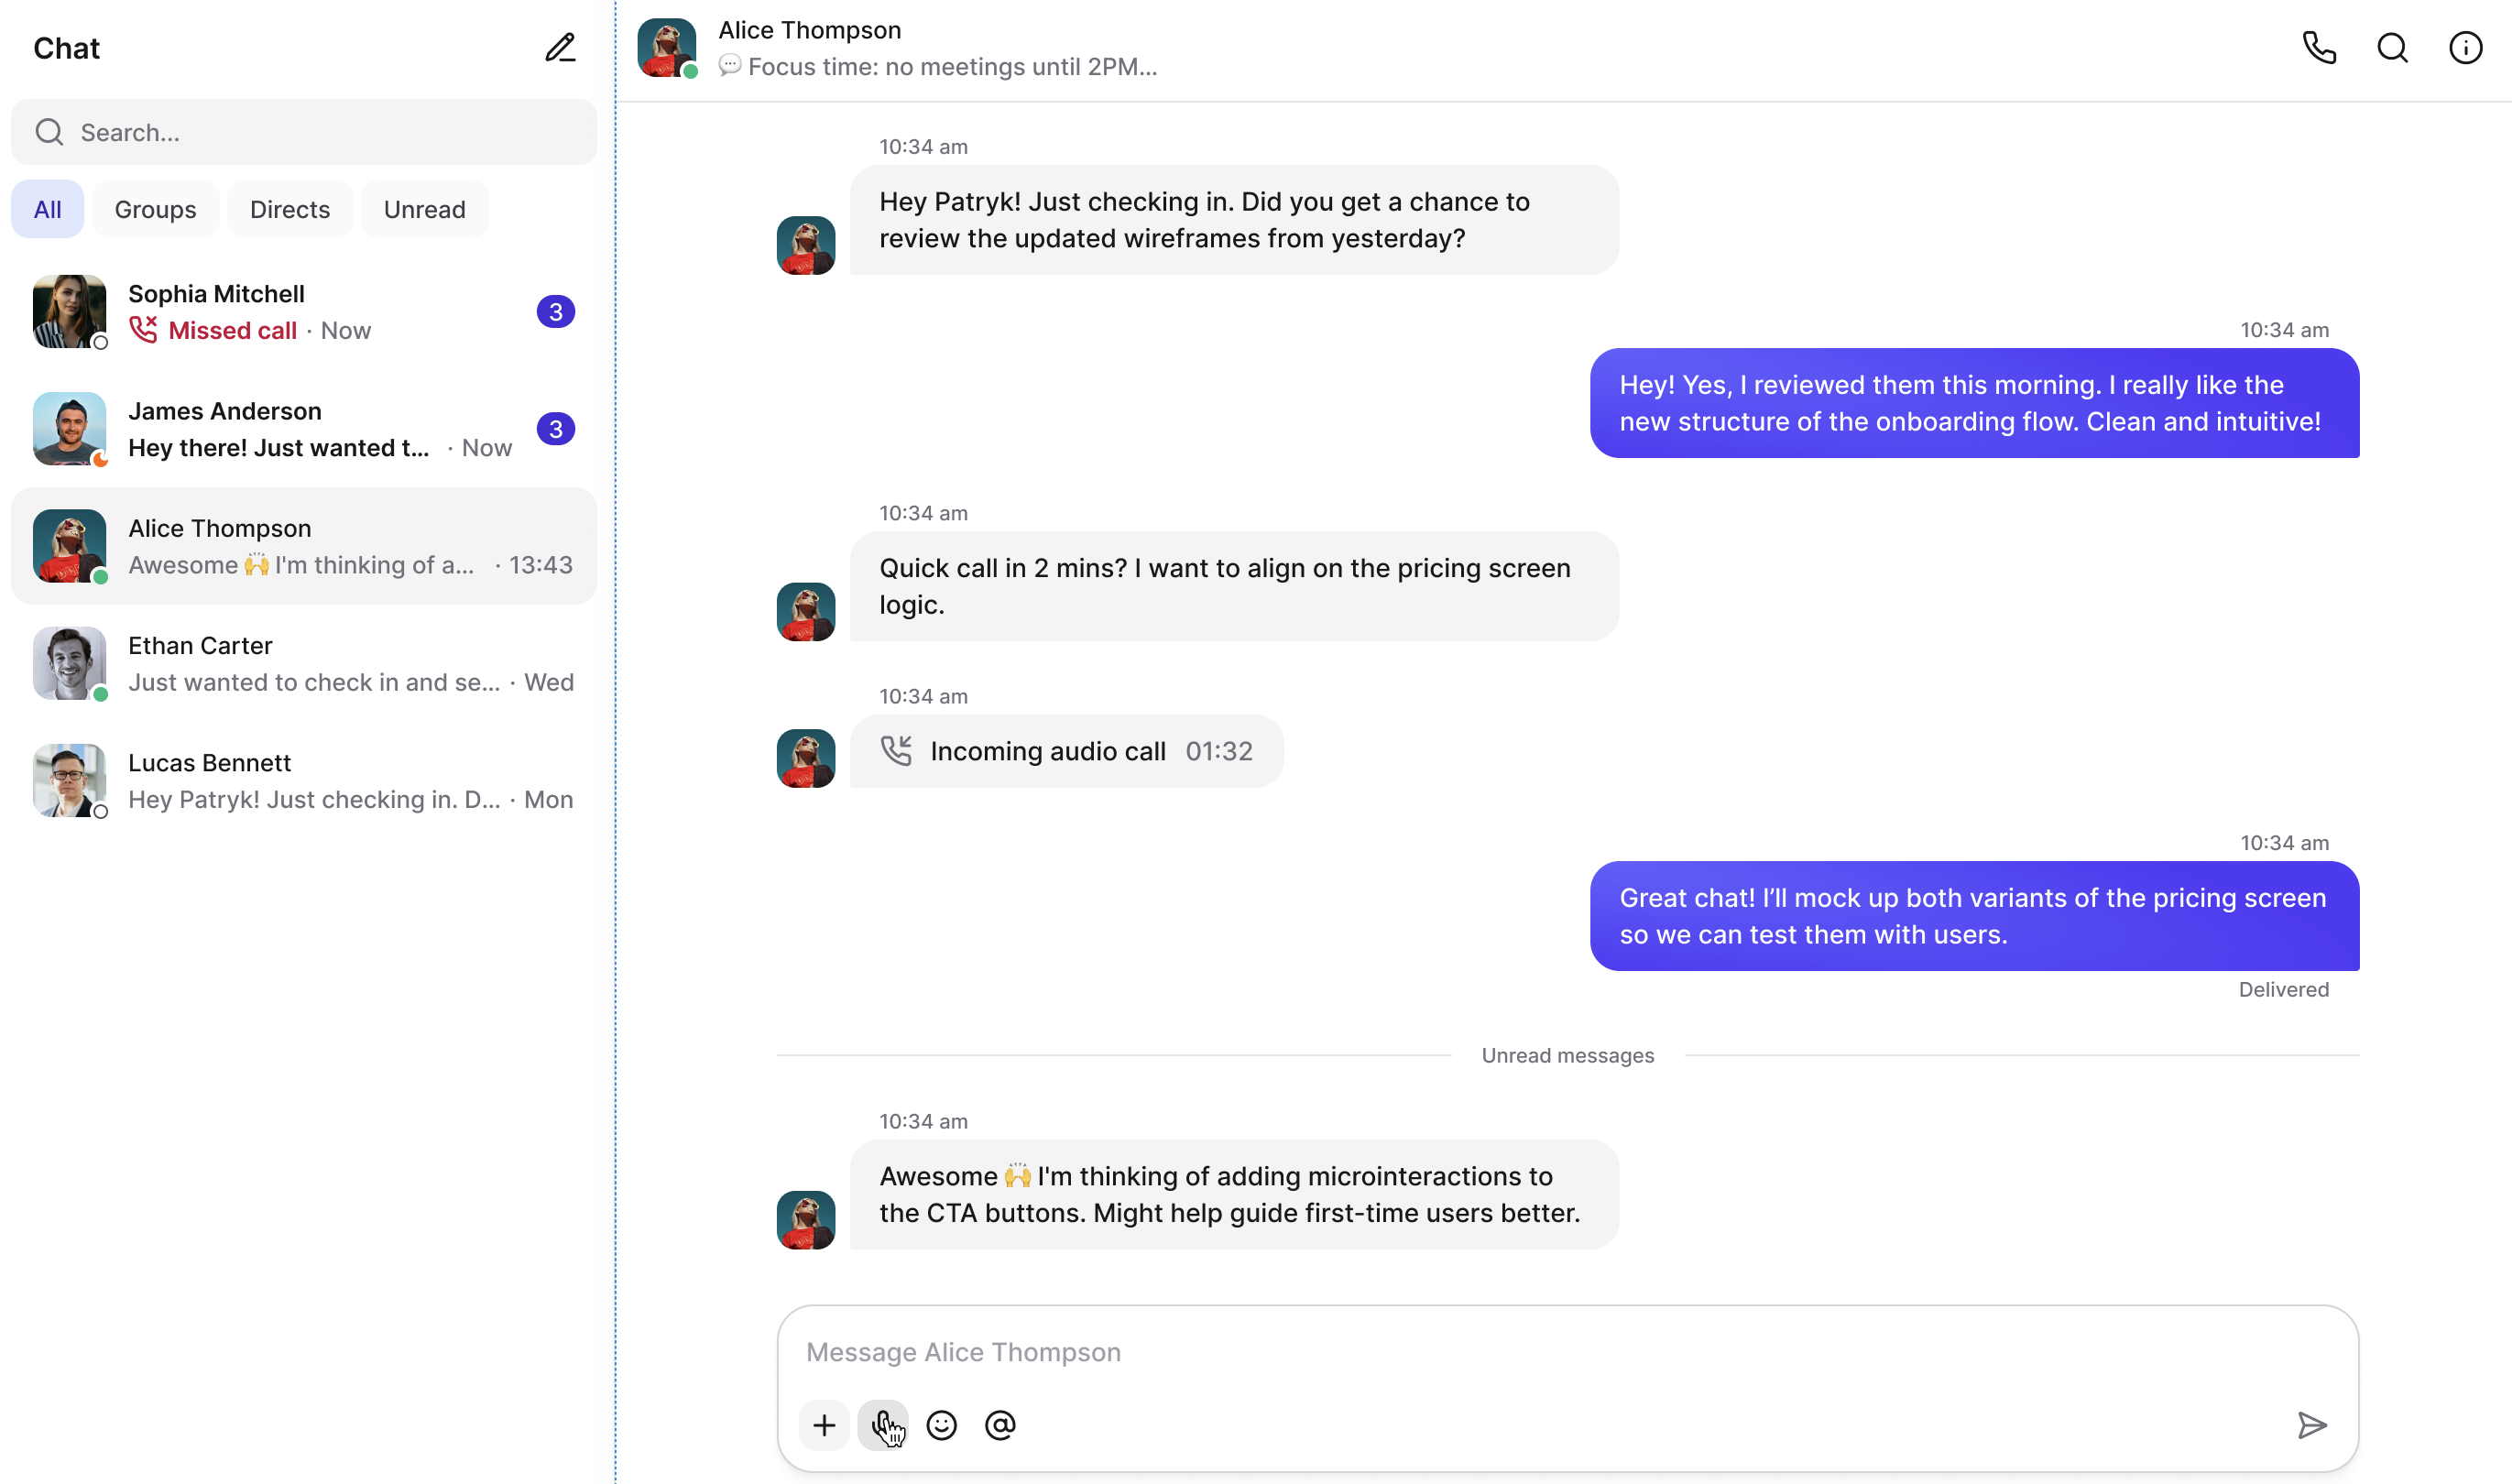
Click the icon/button to start recording
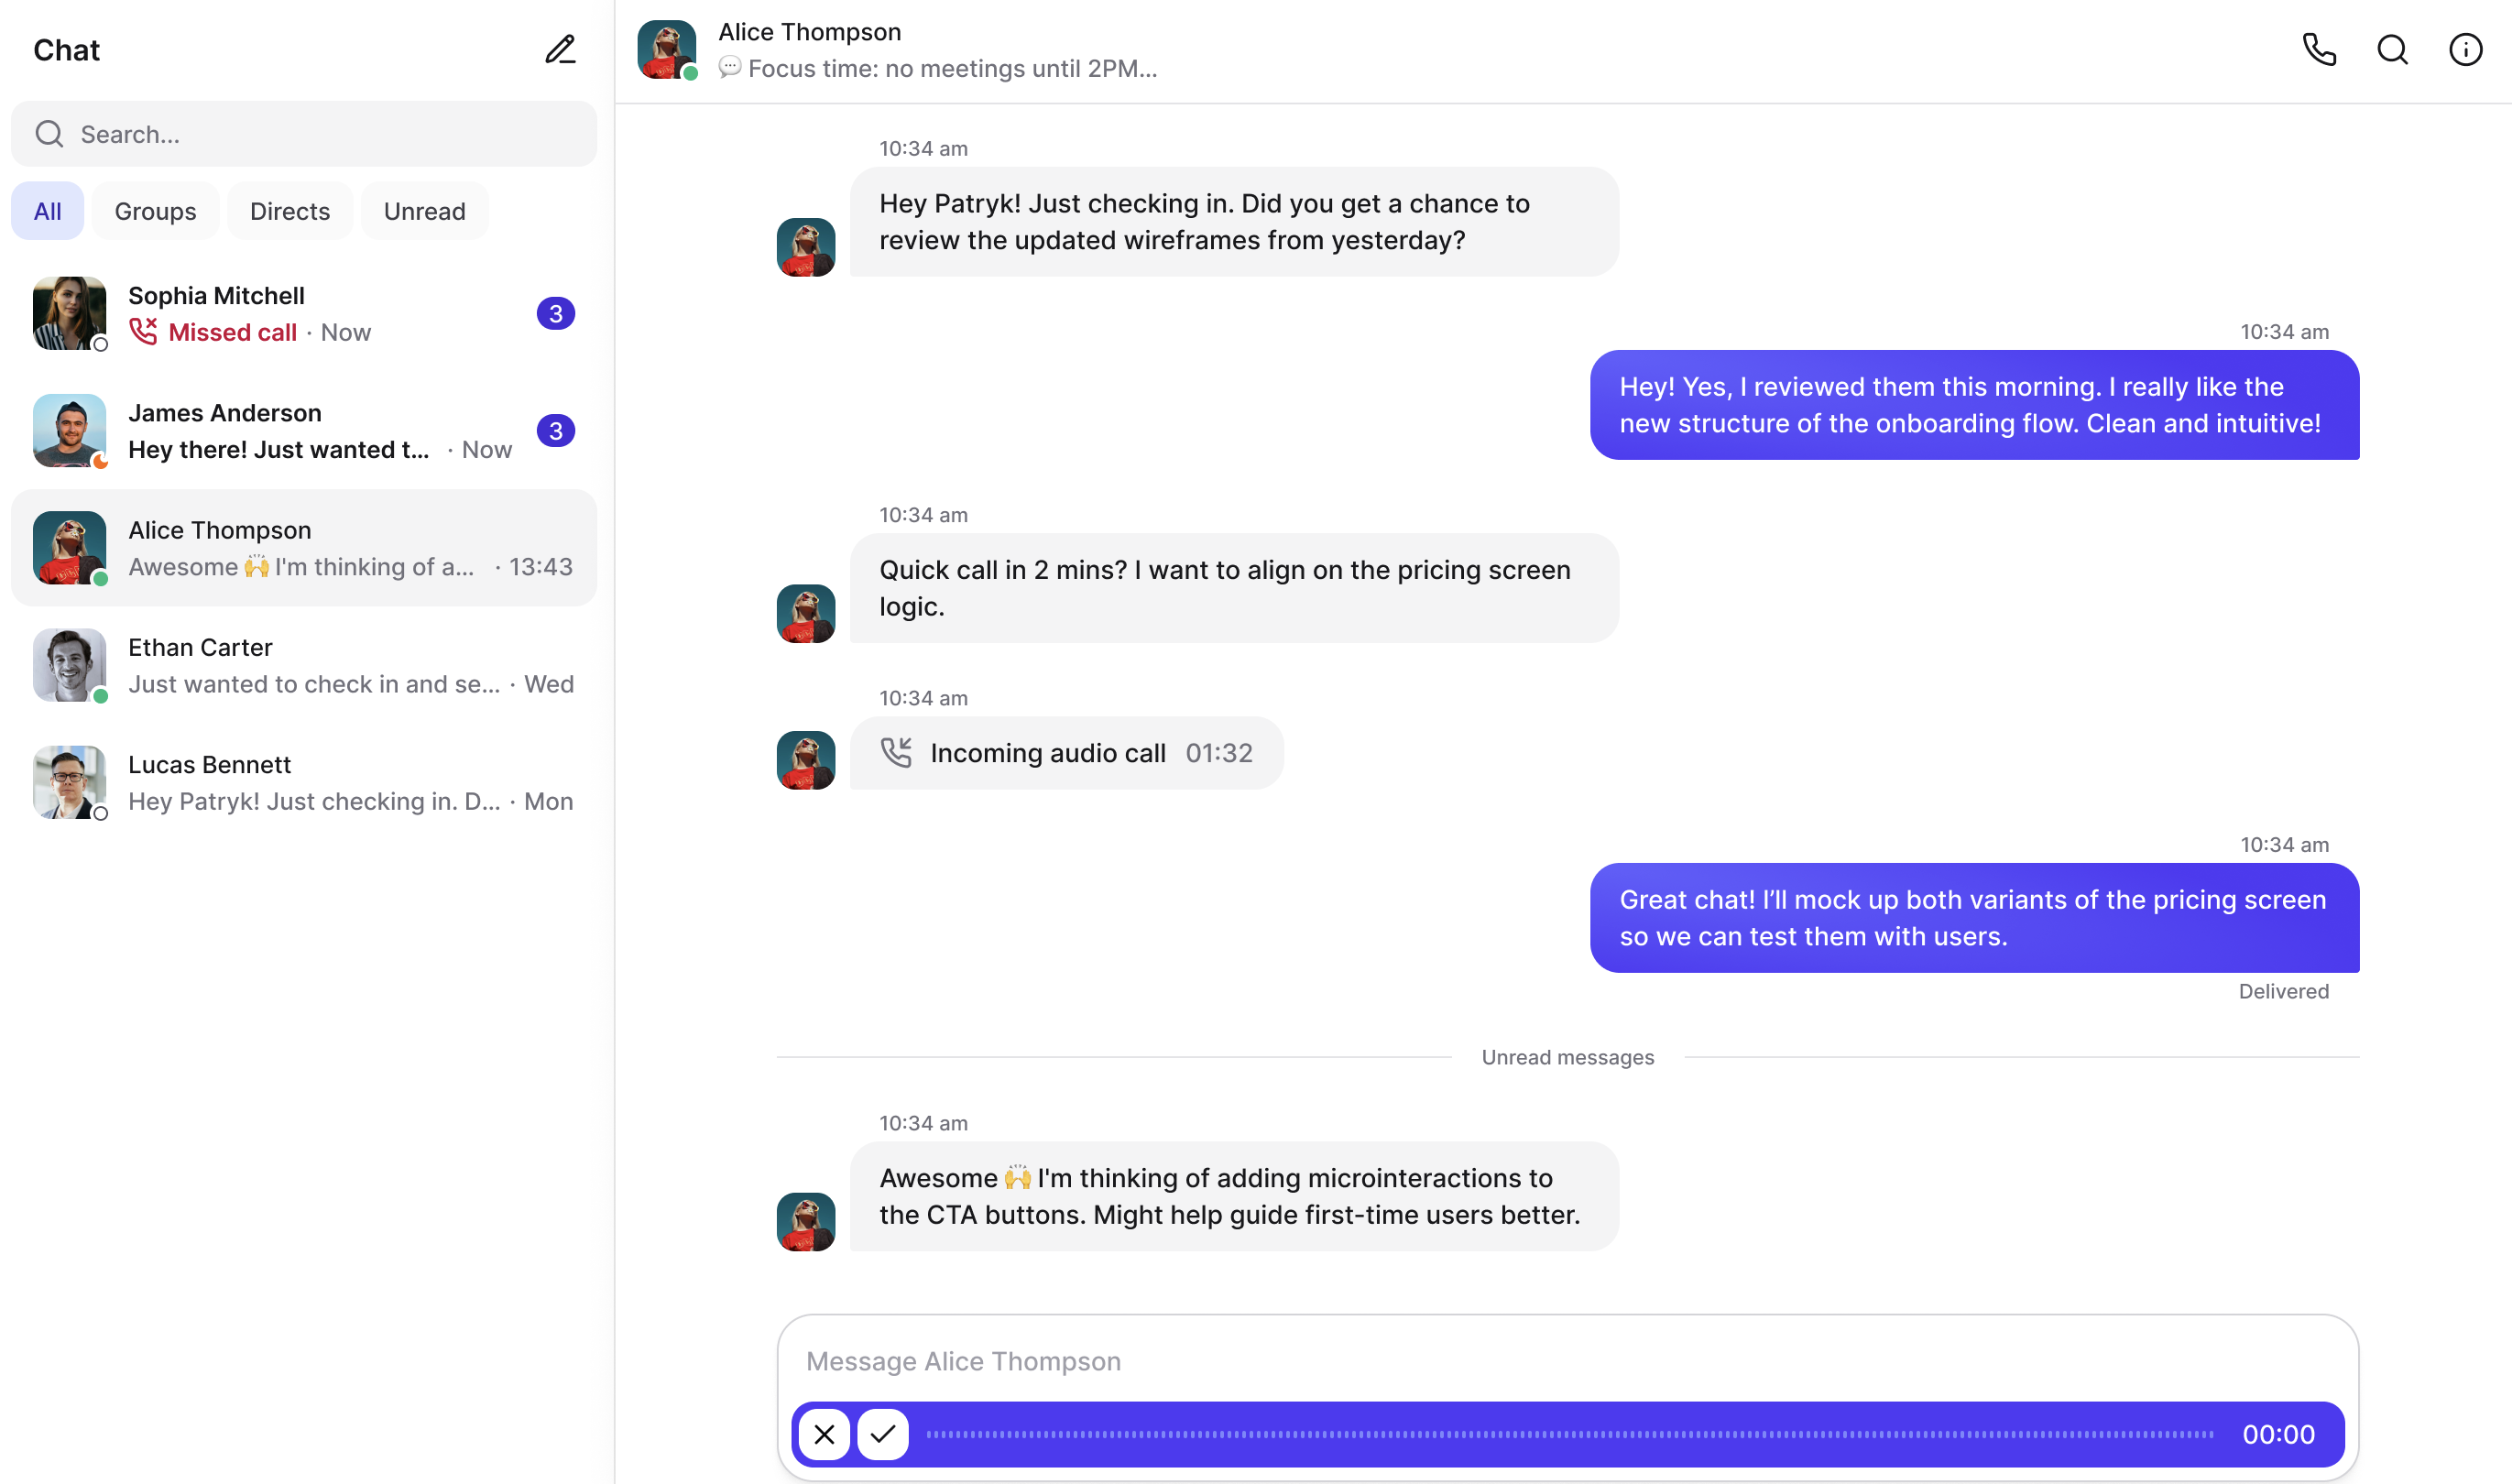
Speak into your microphone.
When you’re done, click Approve.
You’ll see a preview option — click Play to listen to your message.
If everything sounds fine, click Send.
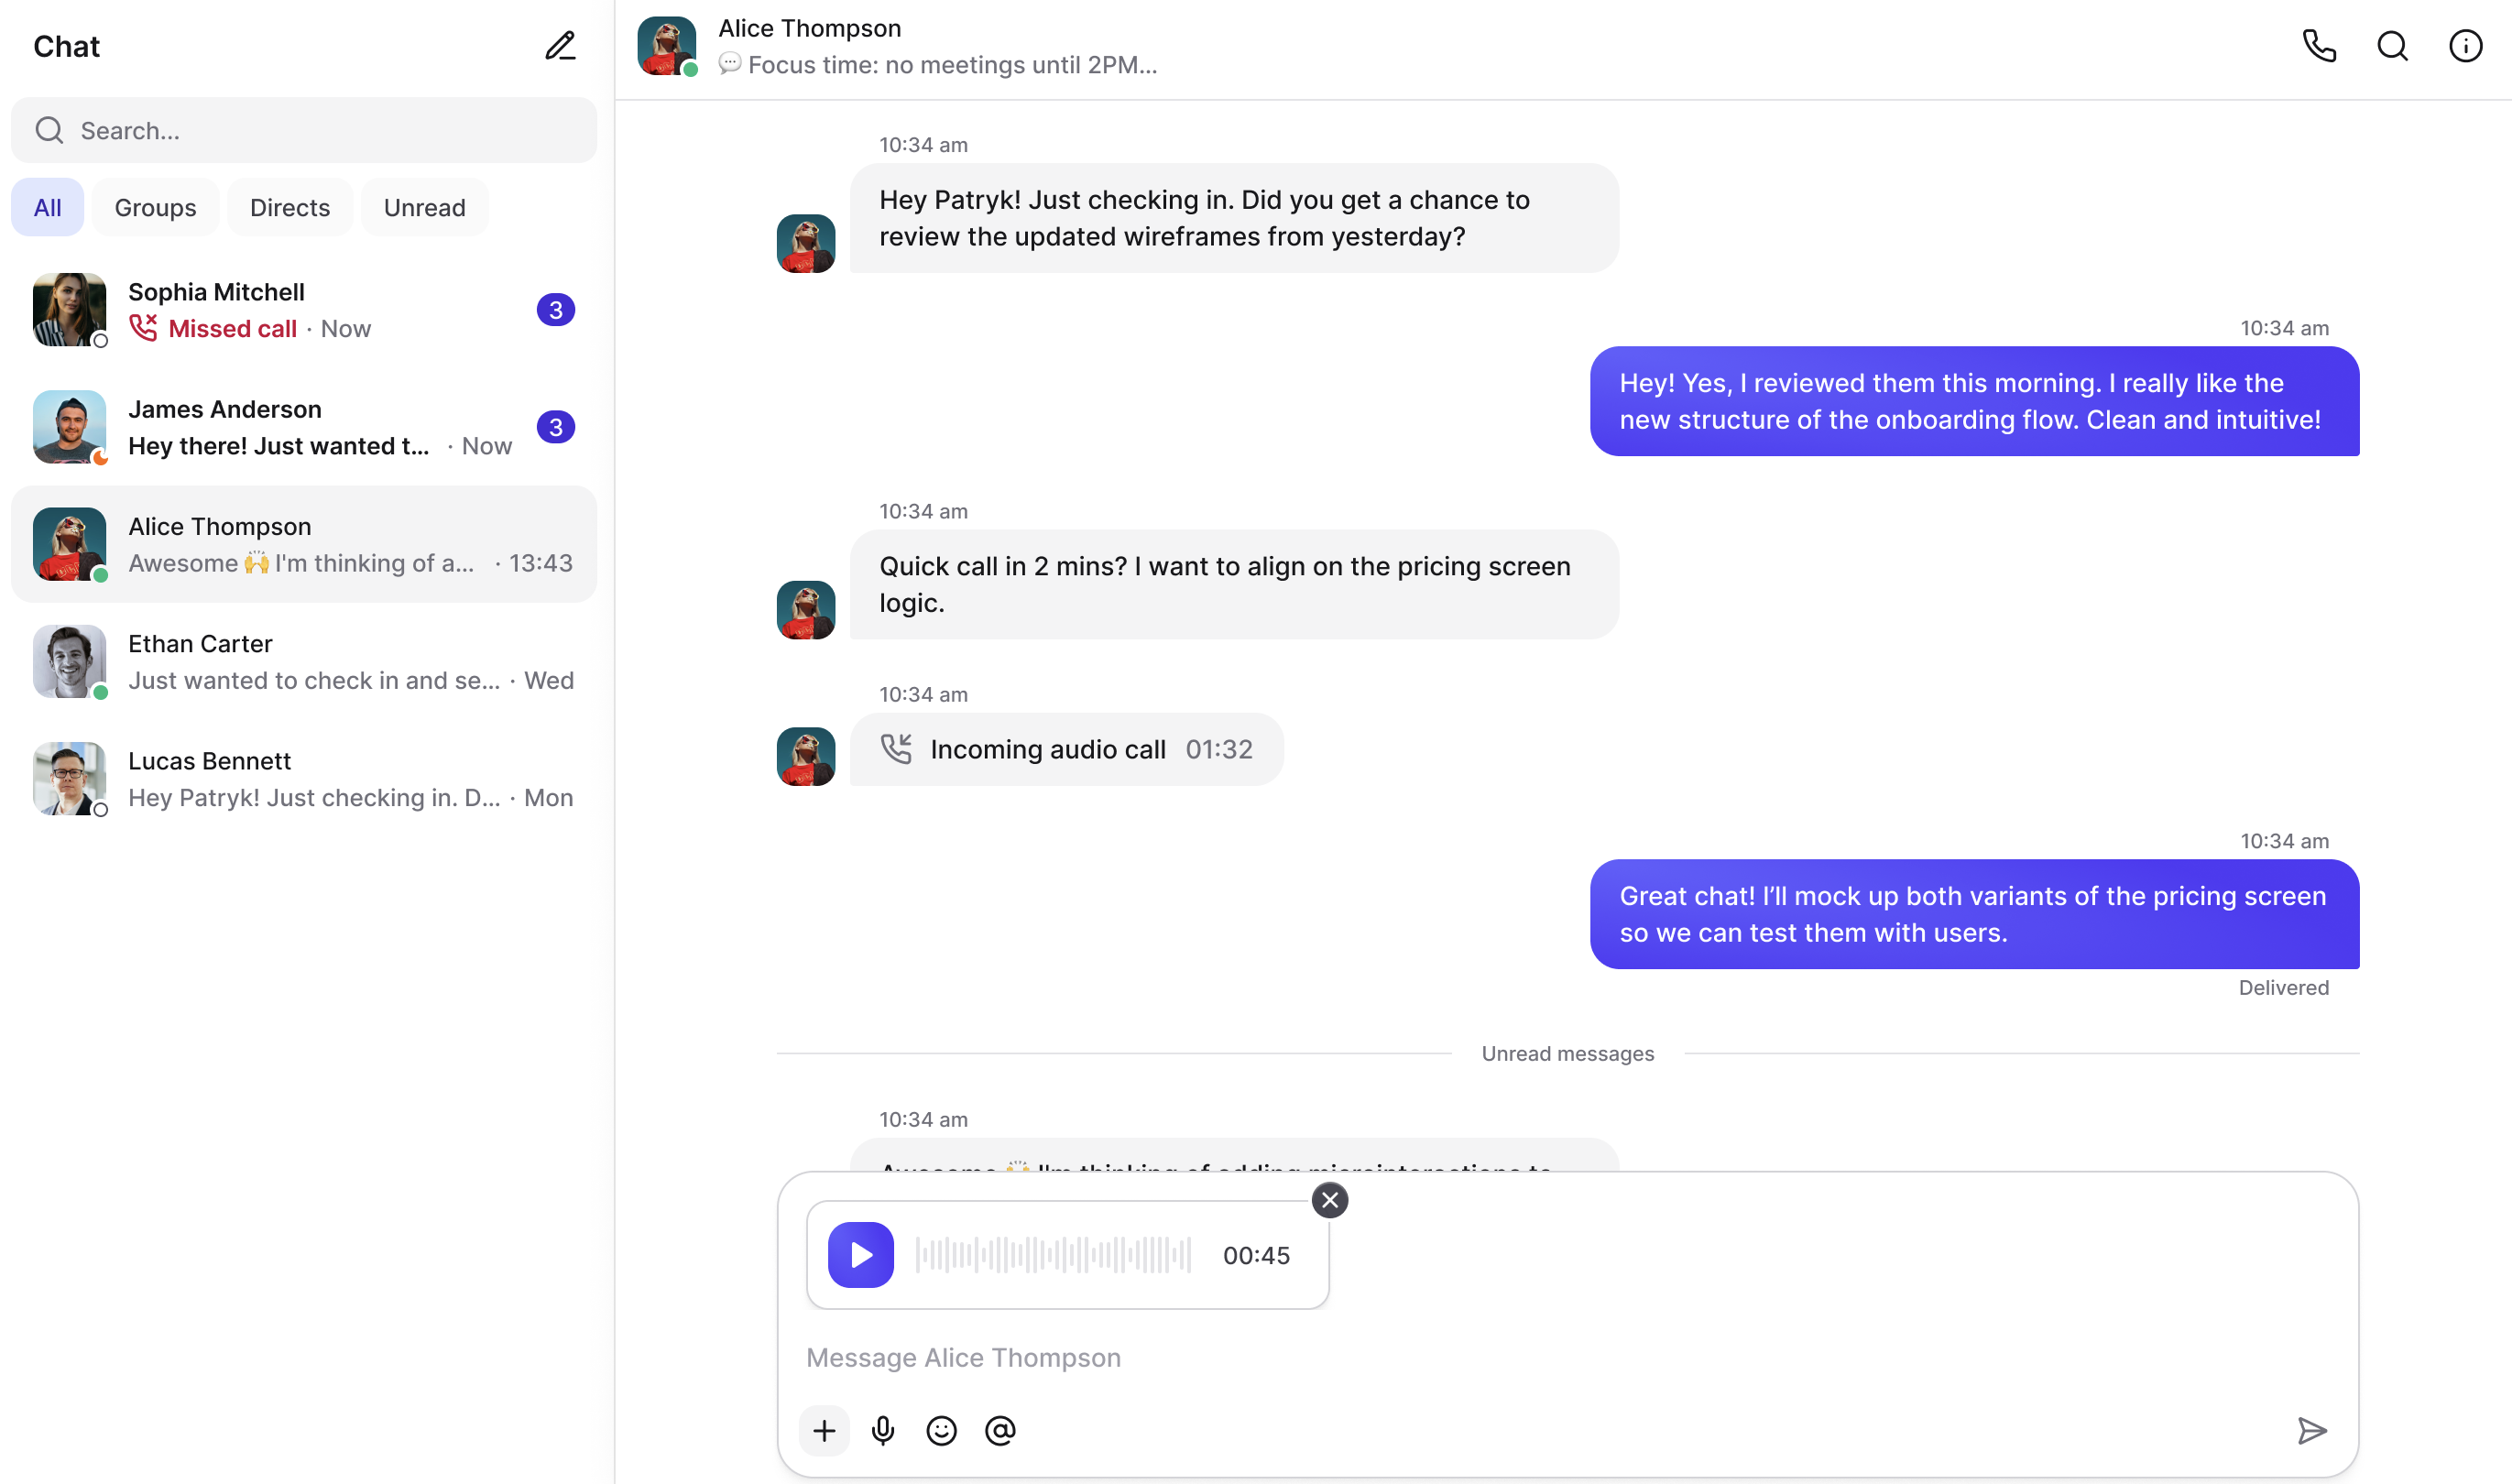
If you want to delete the recording before sending, click Cancel and record again.
Helpful Tips & Troubleshooting
Sound quality: Speak close to your microphone and avoid background noise.
Check permissions: If the recording doesn’t start, make sure your browser and system allow microphone access.
Connection: A stable internet connection ensures your message uploads correctly.
Try again: If something goes wrong, refresh the page or restart the app.
Switch and Organise Chats
To switch chats: click another entry in the conversation list.

Search in Chats
Use the search bar to find contacts or keywords.
You can mute notifications from a group or leave the group chat entirely. To do this, tap the info icon and select your desired option; to unmute later, return to the same menu and choose “Unmute.” When leaving a group, the system will ask you to confirm your decision.
Basic Troubleshooting (Checklist)
Message won’t send: check the internet, restart the app, resend.
No notifications: check app and device notification settings.
File won’t attach: check size/format supported by the app.
Voice/video call won’t connect: check microphone/camera permissions and internet connection.
Q: How do I start a new conversation?
A: Click the new conversation/pen icon, select a contact (or type a name), and send a message.
Q: How do I attach a photo or file?
A: Click the attach (+ / paperclip) icon, select the file from your device, then send.
Q: What if my message didn’t send?
A: Check your internet, try again, restart the app. If it still fails, check if the service is down.
Q: Can I edit a sent message?
A: You can’t edit the sent message in PhoneHQ chat.
Q: How do I create a group chat?
A: Start a new conversation -> select multiple recipients -> name the group and choose if the chat will be encrypted -> send your first message.
Q: How do I change my status (online / do not disturb)?
A: Go to your profile or app settings and set the status manually (or enable Do Not Disturb mode).
Q: Can I unsend (delete for everyone)?
A: Yes, you can delete the message you’ve sent. Just click the 3 dots near your message and choose - ‘Delete message for everyone'.
Q: How do I find an old message?
A: Use the search bar, enter a keyword, or filter results by date/attachments.
Q: What does the lock icon/encryption message mean?
A: It indicates that your conversation uses encryption (often end-to-end). Your messages are safe.
Chat Panel | Main app window for text, voice, and video conversations. |
Conversation List | Left-side view with active and recent chats. |
Status | User availability (online, offline, busy, do not disturb). |
Notifications | Alerts for new messages or events in the app. |
Search bar | A tool for finding contacts and content in chats. |
Conversation Header | Top bar of the chat window, showing name/photo and quick actions. |
Message History | Chronological record of all messages in a conversation. |
Message Entry Field | A box where you type text before sending. |
Attachment | File, photo, document, or other item sent in a message. |
Reaction | Quick response to a message with an emoji (like, heart, etc.). |
Reply / Quote | Linking a new message to a specific earlier one for context. |
Thread | Sub-discussion inside a group chat. |
Archive | Hiding a chat from the main list without deleting it. |
Block | Preventing a user from sending you messages. |
Delivery / Read Receipt | Status showing if a message was delivered/read. |
