Last update: 28/04/2026
Follow these steps to set up calls recording:
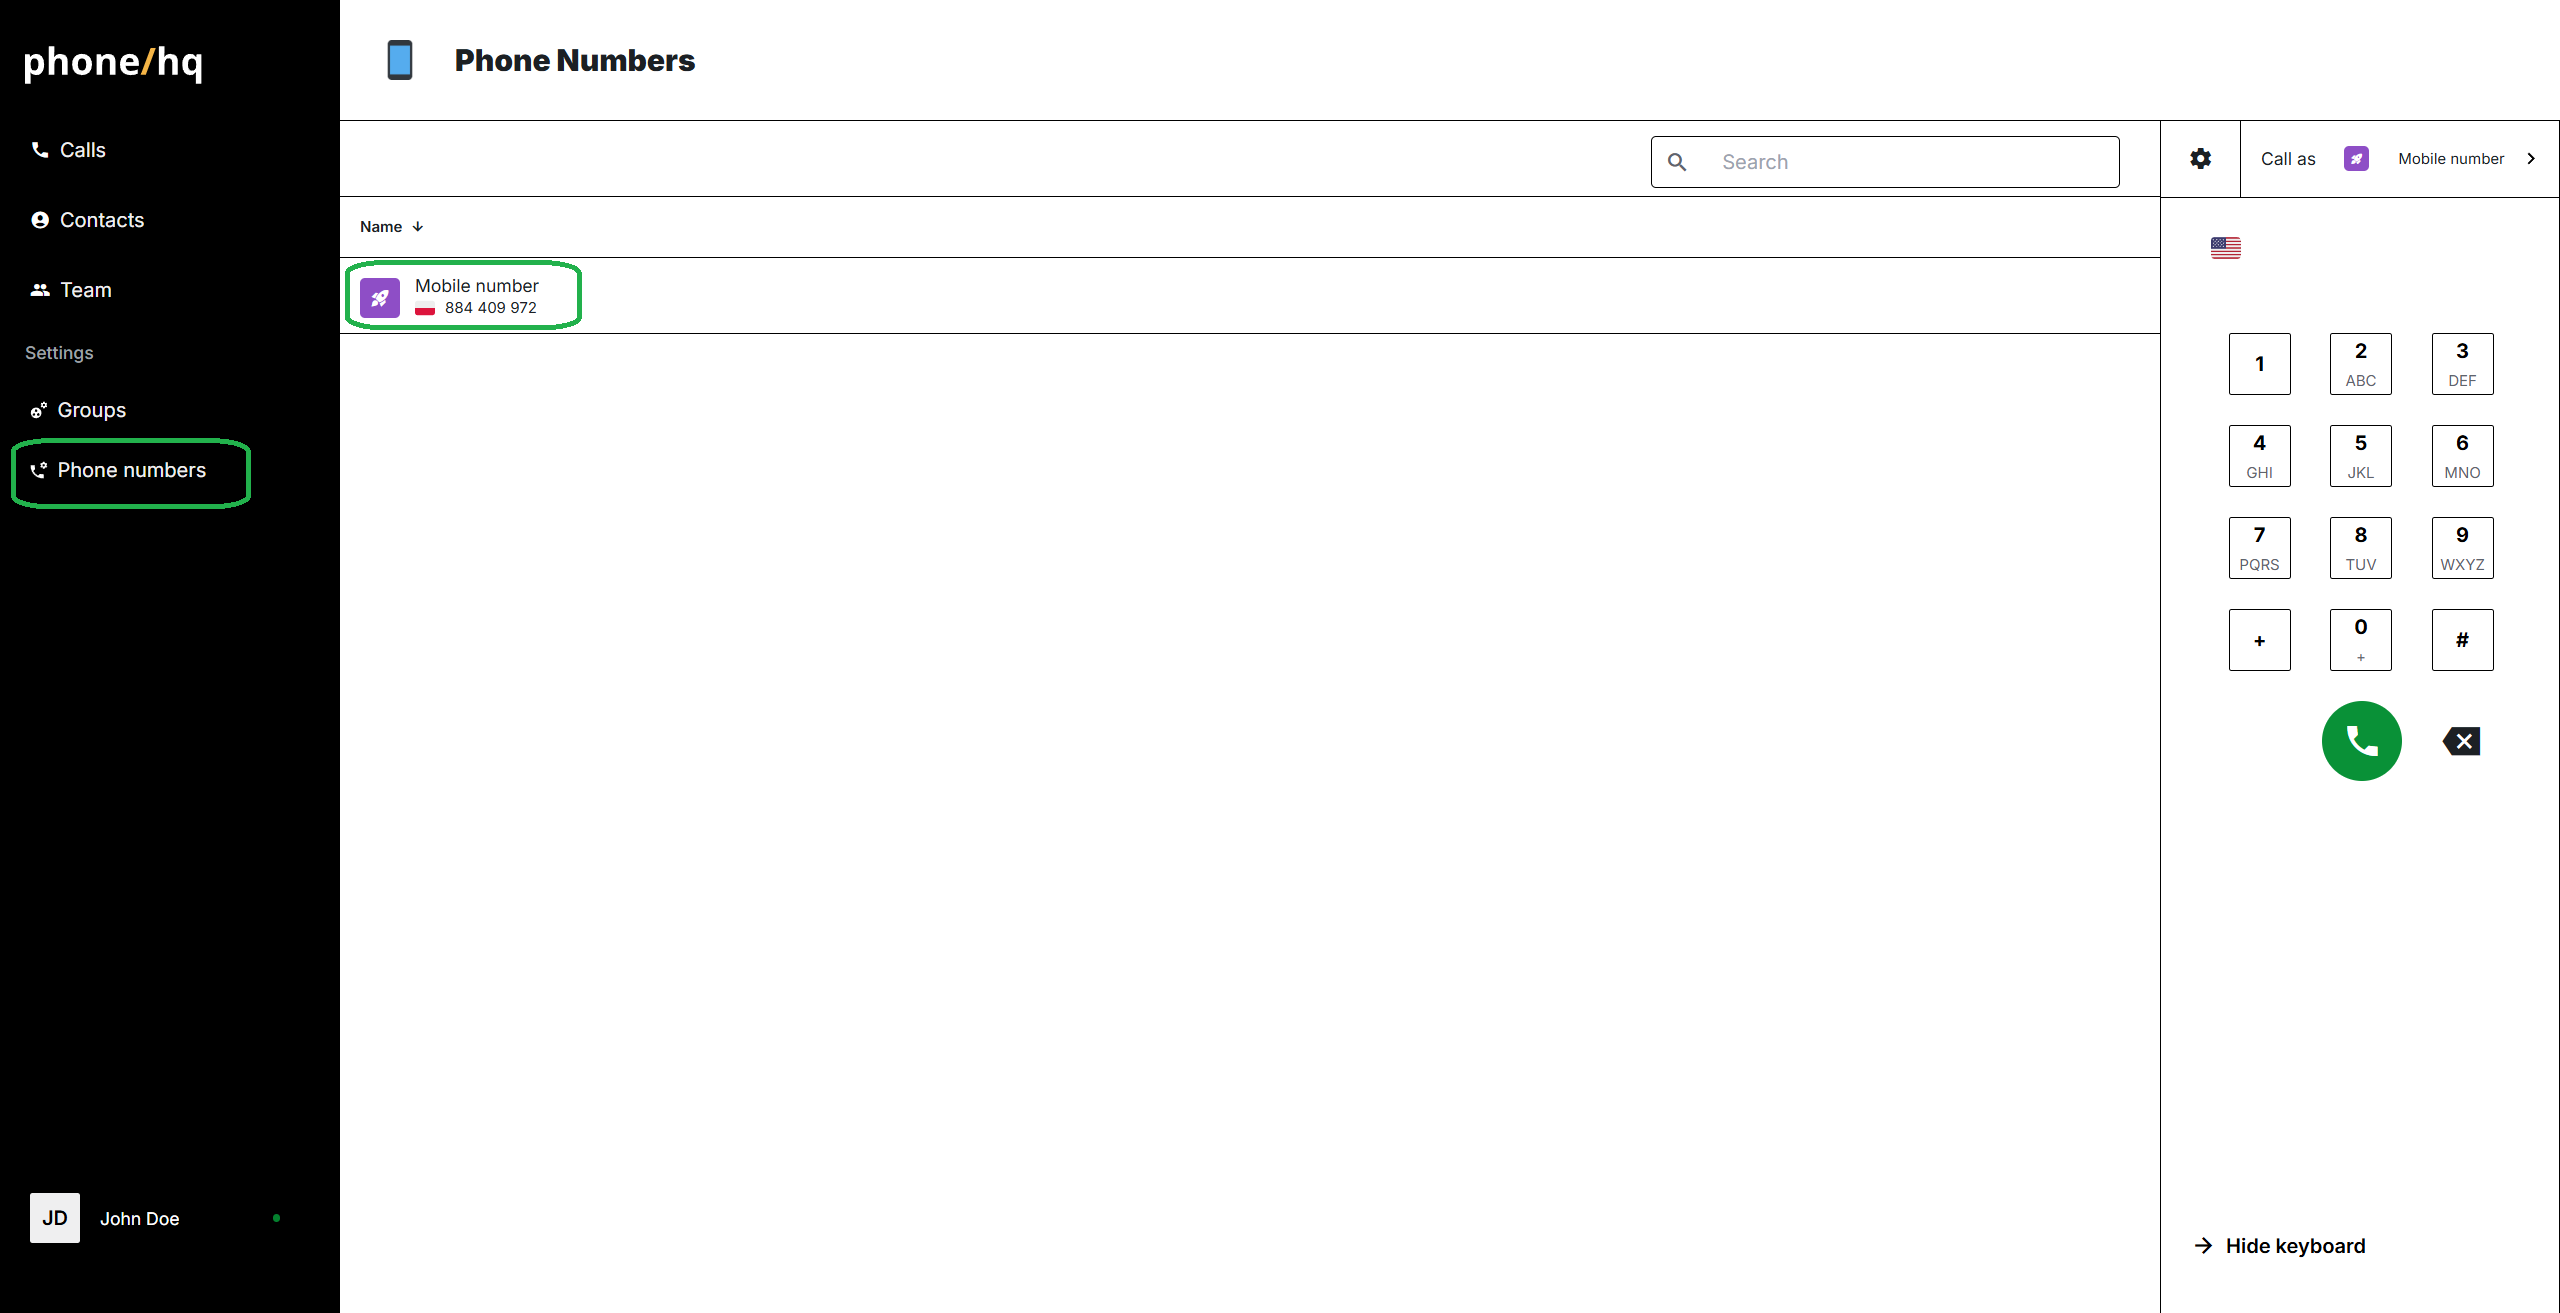
Go to the “Phone Numbers” section on the left-side menu.
Click on the phone number for which you want to set up calls recording.
On the bottom of the page, click the “call recording” switch to turn the option on and off.
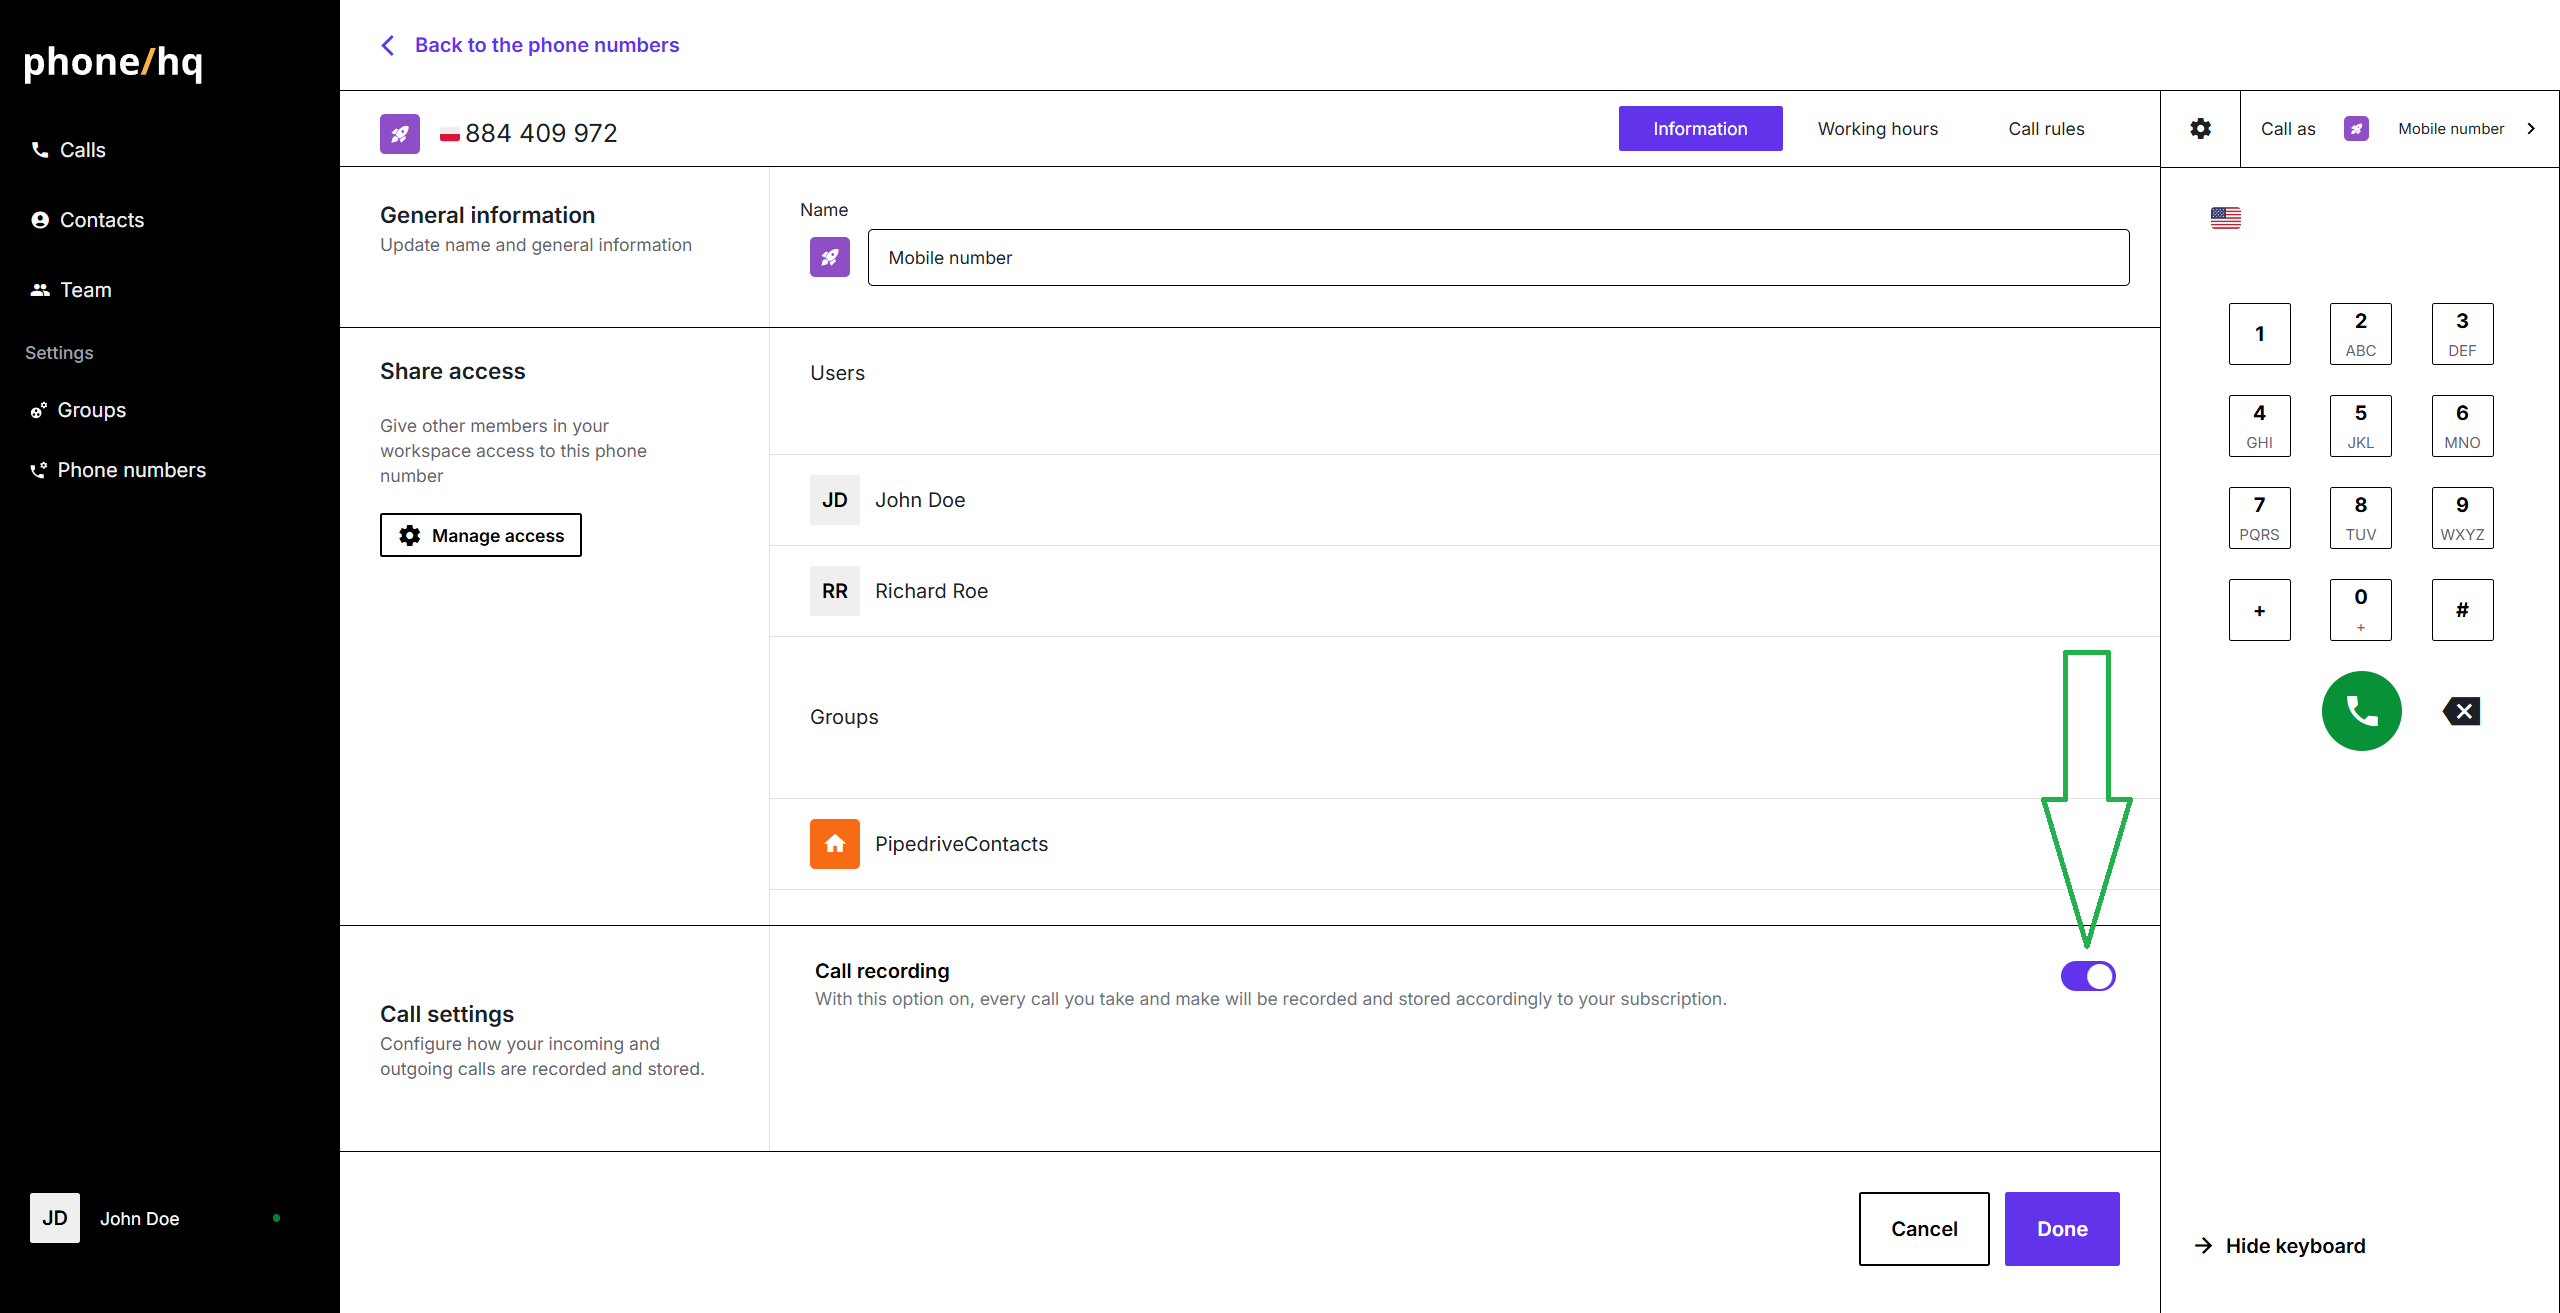
Once the call recording is turned on or off, click the “Done” button at the bottom of the page to save the new settings.
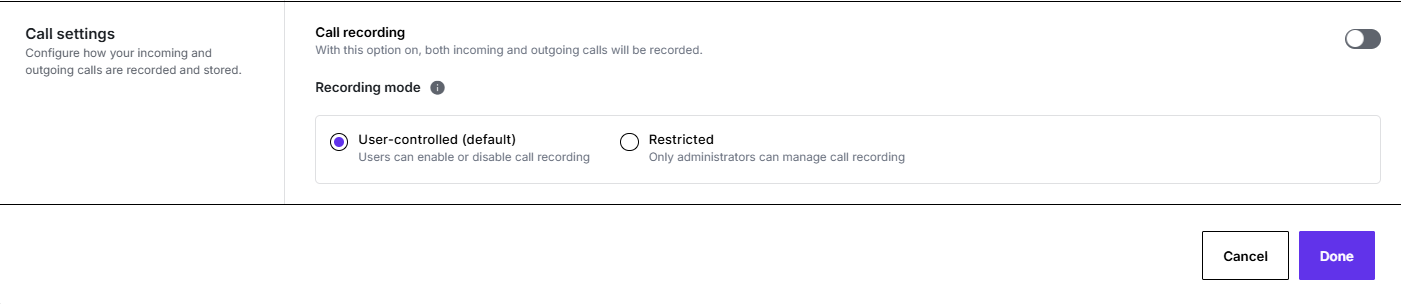
New call recording settings let organisations control who can start or stop recordings. By default, users can turn recording on or off themselves, but a restricted mode makes recording an admin-only task for higher security.
The default "User-controlled" setting lets people enable or disable recording unless an administrator changes it to restrict that ability.
1. How do I enable or disable call recording?
Log in to the Web Portal, go to “Phone Numbers,” select the desired number, and toggle the “call recording” switch on or off.
2. Will call recording apply to all calls on that number?
Yes, once enabled, all calls made or received on that number will be recorded.
3. Can I set call recording for individual users?
No, call recording is set per phone number, not per individual user.
4. How do I save changes after turning call recording on or off?
After toggling the switch, click the “Done” button at the bottom of the page to save your settings.
5. Where can I find recorded calls?
Recorded calls are accessible in your PhoneHQ app or Web Portal call history (if available and enabled).
Term | Definition |
Call Recording | The feature that records phone conversations on a specific number. |
Phone Number | The specific number for which recording settings can be enabled. |
Toggle Switch | The button used to turn call recording on or off. |
Web Portal | The online interface where you manage PhoneHQ account settings. |
Done Button | The button used to save any changes made to call recording settings. |
Found a mistake or missing article? Contact PhoneHQ Support and let us know!
